Flambient Editing Starter Kit: Gear & Settings
At SnappEditt, we are dedicated to providing high-quality Real Estate photo editing, Virtual Staging, Floor Plans, and 3D Rendering services to boost property listings and engage potential buyers. Being photographers ourselves, we can relate to the post-production headaches after a long real estate photoshoot or wedding shoot. We also provide Product Retouching, delivering exquisite visuals that make a difference. Whether you're just starting to outsource or need a better option, we promise a personal touch and quality results each time. We'll handle the edits so you can concentrate on getting perfection!
Flambient editing—a fusion of flash and ambient exposures—is now a gold standard in high end real estate retouching and commercial architecture editing. It combines the natural warmth of ambient light with the crisp clarity of flash photography. The result? Perfectly balanced, magazine-worthy images that help properties and resorts shine.
If you’re diving into flambient for the first time, this starter kit will guide you through the essential gear, camera settings, and editing techniques. Whether you're working on hotel retouching, resort photo editing, or property editing, mastering this approach will elevate your portfolio.
What is Flambient Editing?
Flambient (Flash + Ambient) editing blends multiple exposures—usually one taken with ambient light and another with flash. The goal is to:
Retain natural shadows and highlights
Neutralize color casts
Enhance depth and texture
This technique is especially effective for commercial real estate editing, where lighting conditions vary across interiors, and true-to-life color is key.
Gear You’ll Need
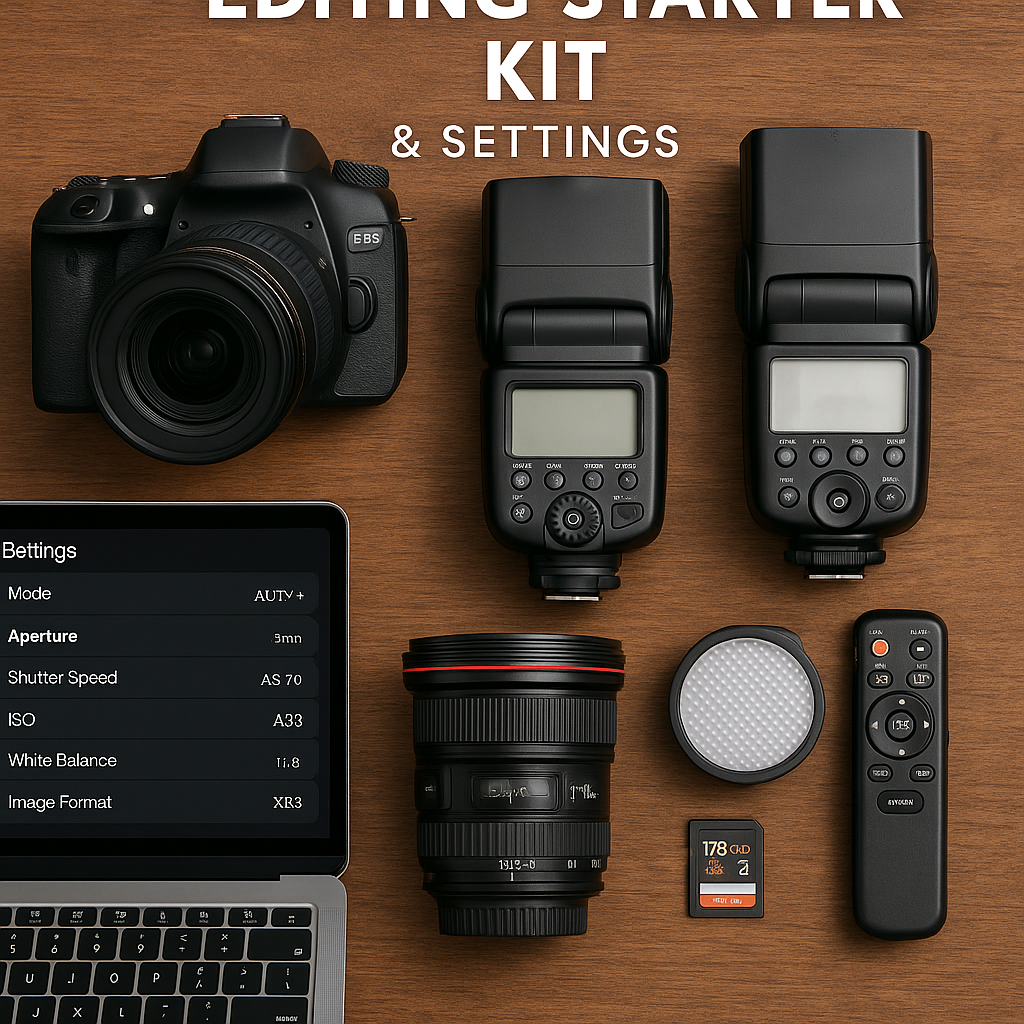
You don’t need a Hollywood studio to get started with flambient editing. But having the right gear makes a world of difference:
1. DSLR or Mirrorless Camera
Any full-frame camera with manual settings will do. Look for one that allows bracketing and has excellent dynamic range—critical for HDR editing and manual blending.
2. Wide-Angle Lens
For architecture editing and resort retouching, a 16–35mm lens is ideal. It captures more of the space without distortion.
3. Off-Camera Flash or Speedlight
One or more flashes are needed to fill in dark areas without blowing out highlights—especially in large hotel photo editing scenarios.
4. Flash Trigger or Remote
Control your off-camera flash wirelessly to stay mobile while shooting.
5. Tripod
Essential for consistent framing between ambient and flash exposures—especially in single exposure editing vs. bracketed setups.
Camera Settings to Start With
Here are base settings you can tweak based on the room’s lighting:
ISO: 100–400 (keep it low for clean shots)
Aperture: f/7.1–f/11 (sweet spot for clarity and depth)
Shutter Speed: Adjust according to ambient light—longer for darker interiors
White Balance: Shoot in Auto, but correct in post
Take at least two exposures per shot:
Ambient (natural light only)
Flash (flash used to eliminate color casts and lift shadows)
For HDR editing, you can capture three to five bracketed exposures (e.g., -2, 0, +2 EV), but flambient often makes this unnecessary when done right.
Editing Workflow Basics
Here’s where your skill in architecture retouching, property retouching, or hotel retouching kicks in.
Layer Your Exposures in Photoshop Stack the ambient and flash images.
Manual Blending Use soft brushes and masking to blend the flash exposure into the ambient base. Focus on color correction and shadow cleanup.
Correct Color Casts Pay special attention to walls and ceilings. Flambient is excellent for removing unwanted orange or green tints often seen in hotel photo editing or resort interiors.
Final Touches Add window views using manual blending, adjust brightness/contrast, and correct verticals for a clean, polished look.
When to Use Virtual Staging or HDR
Sometimes a space may be empty or underwhelming. In such cases:
Use virtual staging to add realistic furnishings
Fall back on HDR editing for spaces with extreme dynamic ranges (like large window-wall apartments)
But flambient often outperforms both in terms of realism and lighting harmony.
Conclusion: Start Strong with the Right Tools
Flambient editing is a must-have skill for today’s high-end commercial real estate editing, resort retouching, and architecture editing professionals. With just a bit of gear and the right technique, your photos can go from average to absolutely stunning.
Ready to elevate your edits? Build your flambient toolkit, master your exposures, and bring out the brilliance in every space you shoot.


